

Pretty straight forward!
Every day i would pull the memory card, dump the data, change the position of the camera and hyacinth, and start it back up.
After 4 days of shooting I decided I wanted to kill the plant, I thought showing it bloom then die would be sort of a neat timelapse. So I got some ground-kill from my shed and poured it in the plants water. it was about 50% ground-kill 50% water.
Day 5, the plant still looked good. So I added bleach to the solution.
Day 6 the plant still looked fine. I added salt.
Day 7 the plant still looked fine. So I wrapped up the shoot, turned out the lights, and started working on rendering the timelapse.
Day 8 i retrieved the plant from the room, and it still looked fine, in fact, it looked fantastic.. I took it upstairs, washed off the bulb, gave it fresh water and put it by the kitchen window to get some light. I figured after all that abuse I could just keep the flower.
Day 9 the plant limp, pale, and dead.
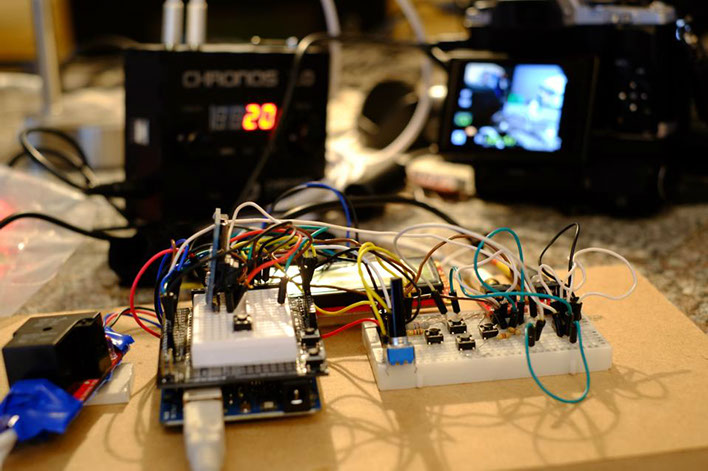
I really did not run into any problems, on one of the clips I was shooting at 1/320s shutter speed and got a bunch of flicker, and I did try to connect my Chronos rail up but was having difficulties getting it to trigger, i had assumed because of the breadboarded controller had a wiring problem. So i just “Ken Burns”-ed it out in post.
This was the end of my first foray into the world of Plant timelapse. It was a rewarding experience, and I really looked forward to doing it again sometime.