
OK ok... SO it needs a little work.
As you can see it is pretty big. Considering this will sit in a studio the size is not a big deal, bigger is easier to work on, and I can fit more junk in it.
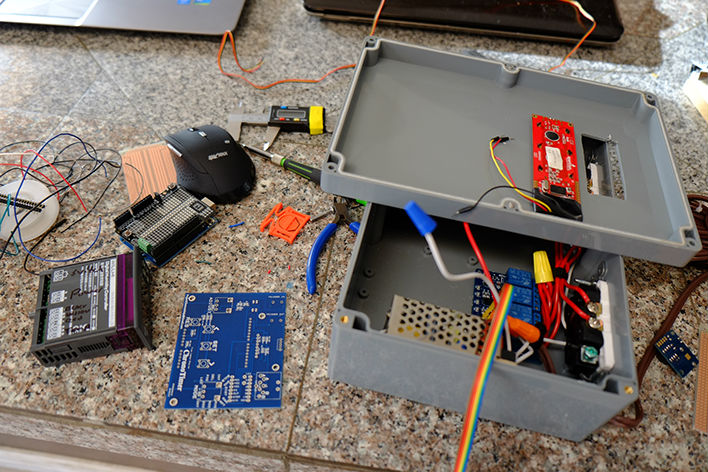
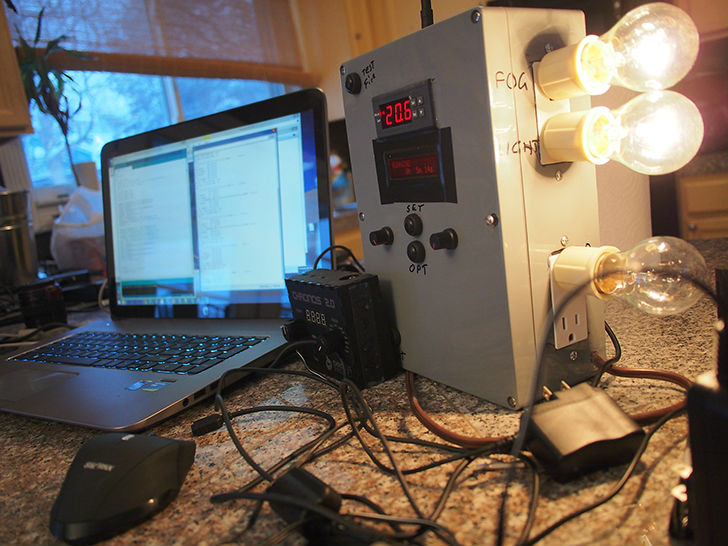
As you can see in the image, it does have 4 outlets controlled by separate relays.
Relay 1 = Grow light outlet. Used for day/night schedules and shooting routines.
Relay 2 = Water pump for watering schedules.
Relay 3 = Humidifier
Relay 4 = Temp.

On the opposite side of the outlets I have two 12vDC outlets used to power external 12 volt devices.
And last but not least, on the top I have four 3.5mm jacks, one Input, one Shutter trigger, and two LED triggers.
In the image you can see the AC-12VDC converter, the 4 relays, the outlets, and jacks.

I had originally planned to use a SparkFun Serial Graphic LCD display, but I had done some testing and quickly abandoned it. Turns out the sparkfun firmware is sorta junky, everyone recommends swapping the firmware to a non-sparkfun display, and everybody wrote their libraries for that firmware instead of the sparkfun firmware. What does this mean? Well it means to use the display i have to build a parallel cable adapter and dump the file in, but i don’t have a parallel interface. I could go through the hoops in order to do this but honestly right now I am far too busy to screw with it. I would rather just plug and play with something I already know how to use, so i dug out an old 16×2 serial display out of my junk drawer and will be using that instead.
Humidity is a concern, this humidifier is no joke and can easily hit the room to levels where humidity can cause mold, so I plan to use 2 layers of protection. First will be a nice little humidity sensor/controller i purchased. This will control the main circuit, if this is past its threshold it will shut off the fog. Ill probably set this at 70%
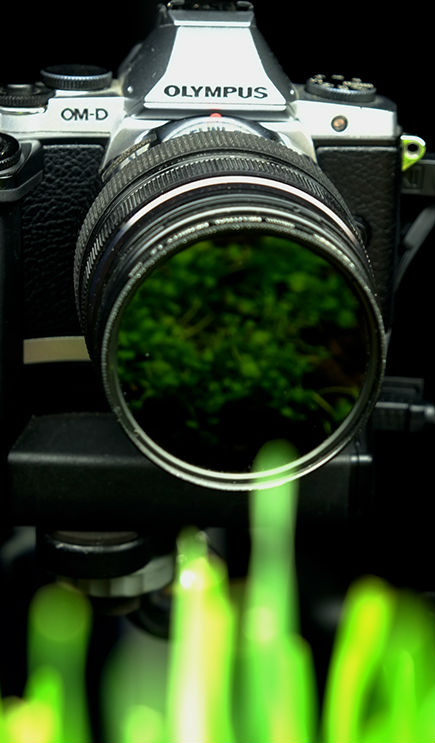
I really want to be able to grow stuff like moss and carnivorous plants, so the plan is to have the humidifier dump fog directly onto the plants, about 1 minute before the shutter triggers it will shut off. This will give 1 full minute for the fog to dissipate and get out of the photo.
This should also, provide a high humidity zone for the plants.
Programming this was pretty straight forward. I was able to snag large chunks of code from ChronoTimer 1.3 and import them in to make the controls a simple task.
There is no real; menu, it runs very similar to the ChronoControllers with a Mode dial on the Right side, and an Adjust dial on the left side.
The buttons have new tasks, I have an OPT button to cycle through sub-modes and the SET button remains used to lock in the value. What was the LEFT button is now a test-fire button that will set the lighting to the shooting state and fire off a test shot.
I gave the system the ability to read and control both temperature and humidity. The timer functions allow me to run day/night cycles, run fog between shots but still stop soon enough to allow the fog a chance to dissipate so it is not in the image.
The system really is a cross between a Time Lapse Intervalometer and a grow room control panel. Of course being in Colorado everyone who hears me discussing environmental controls seems to think i am growing pot.
Now this is where the fun slick parts come into play. I have recently upgraded to a faster laptop with SSD, 16gb ram, etc, and had originally planned to sell my older laptop. However, the price I could get for it, it seems I could find better uses. So it has been tied in with the BCM via serial connection. It now spits out a status report with every image, and logs the time of various events.
This came in particularly useful just last week. I had noticed that the grow light was shutting off about 5 minutes before it took the image, somehow I had managed to swap some values around. And while the system was generally running well, it was no optimal. I was at my day job and decided to remote in with my Surface Pro to check on things and see how it was doing. I tunneled into my home Laptop from my Surface, then established a connection to the studio laptop. I noticed the problem and pulled the code file back to my surface, made the adjustment, transferred it back to the studio laptop and uploaded the fixed code to the BCM. It started right back up and the problem was fixed, and it only took about 5 minutes.
Here is a screenshot. I can access this remotely with my Surface from anywhere with a Wifi connection, or anywhere with a 3G or better signal with my Samsung Galaxy Note II.
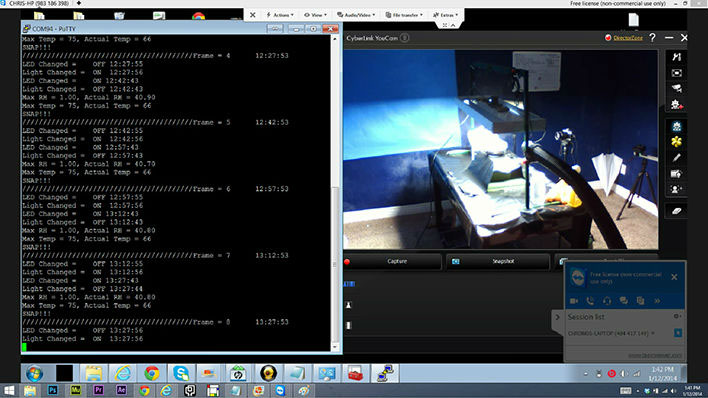
As you can see in the screen-shot above, Not only can I access the log from the BCM, but it also runs a web-cam aimed at the setup for a brief visual inspection so i can be sure that the light is actually on when it says it is on.
For image retrieval, I have a 16gb Eye-Fi wireless SDHC that constantly dumps the images to my new laptop. So i can review the footage without having to step foot in the room.
It is a pretty slick setup if I may say so myself. I can control all aspects of the environment remotely and I don't even have to pull out the memory card to see how the images are looking.